WAV to MIDI
WAV to MIDI Converter Free: Turn a Recording into MIDI
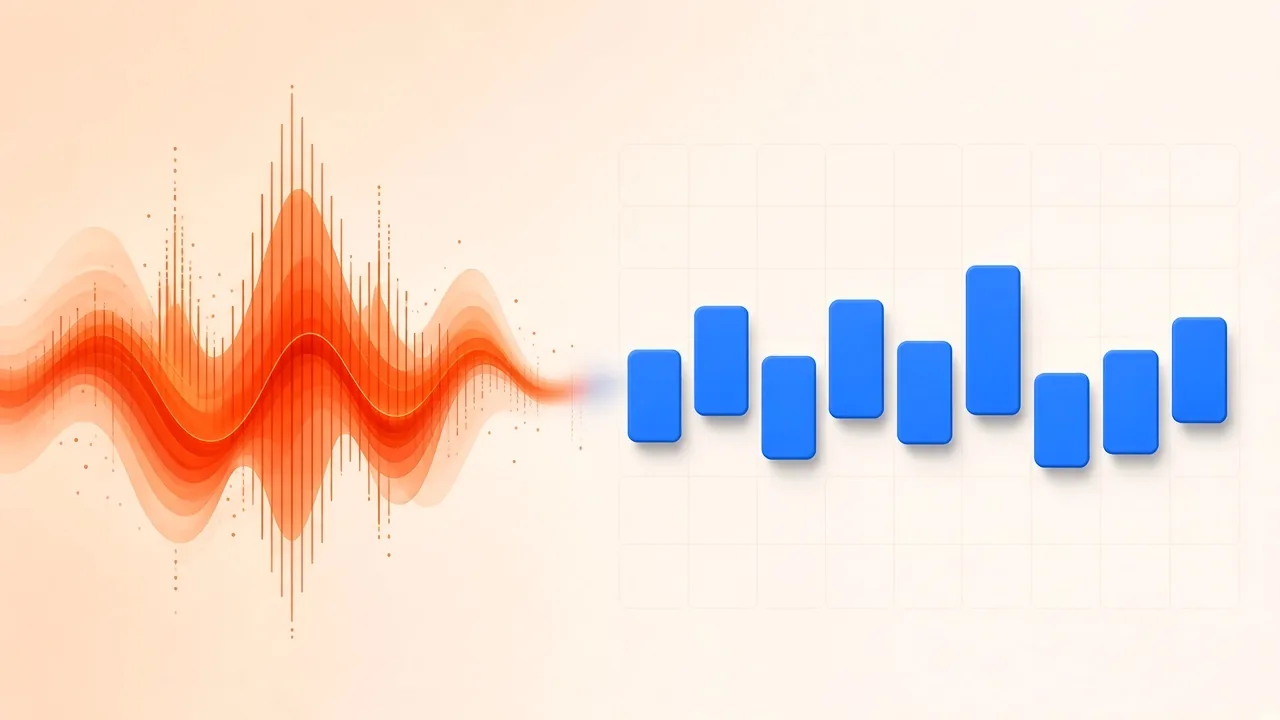
You have a WAV take that holds an idea worth keeping—a riff, a hummed hook, a piano phrase from rehearsal—and you want it as notes you can play with any sound. A free WAV to MIDI converter running in the browser gets you there without installing a DAW plug-in: it listens to the file, estimates which pitches sound and when, and hands back a .mid file you can drop into a session or keep editing.
This guide stays on the conversion itself: what the converter actually produces, which recordings give it a fair chance, how to prepare the file, how to run the conversion and judge the result, and how to export something clean. If you want the broader picture of turning any kind of recording into notes, our earlier guide on how to convert audio to MIDI covers that ground. Here the focus is the WAV-to-MIDI path from the file on your drive to the .mid you download.
What a WAV to MIDI Converter Actually Produces
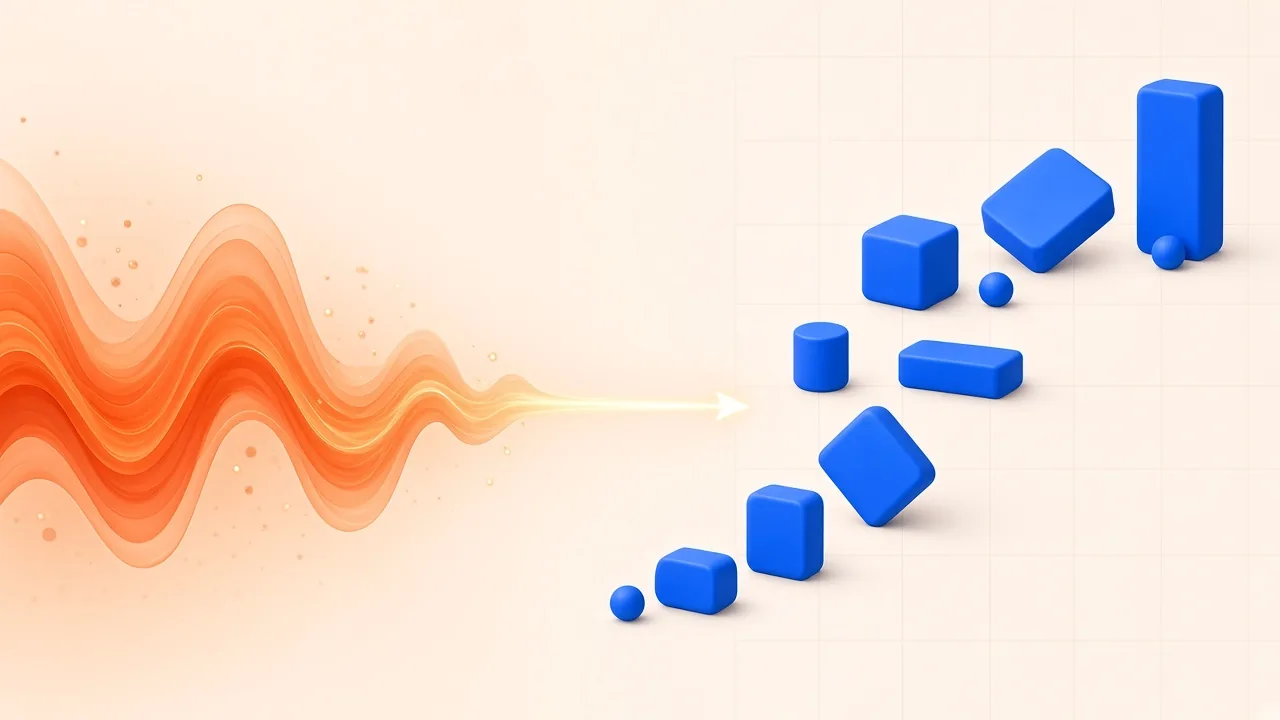
A WAV file stores sound: a continuous waveform with overtones, room reflections, breaths, pick noise, and everything else the microphone heard. A MIDI file stores instructions: which note, when it starts, how long it lasts, and usually how hard it was played. Converting from one to the other means the software has to make decisions the waveform never spelled out—where a note truly begins, which pitch counts during a slide, whether a legato pair is one note or two.
That is why the output is an estimate, not a copy. The .mid you download contains no audio at all. Load it on a piano patch and you hear piano; load it on a bass synth and you hear bass. The original timbre of your recording does not travel with it.
Two practical consequences follow:
- Expect a draft. Even trained musicians disagree about note boundaries in a sung line. A converter makes a reasonable guess and moves on.
- Judge by ear, not by looks. A roll that looks tidy can still feel late or out of tune against the recording. Research benchmarks count a note as correct only when its onset lands within about ±50 ms of a reference and its pitch within roughly a quarter tone (mir_eval.transcription), which is a useful reminder of how small the margins are.
Choose a Recording That Converts Well
The single biggest factor in conversion quality is the recording you feed in. The model matters, but the source matters more.
One instrument, played clearly
Ableton's manual on its own audio-to-MIDI commands tells users to work with recordings of isolated instruments and treats the converted result as a starting point, adding that clear attacks help accuracy (Converting Audio to MIDI — Ableton Live 12 Manual). That advice applies to any converter. Good candidates:
- Solo piano or keyboard.
- A clean or lightly driven guitar line.
- A dry vocal melody or a hummed idea.
- A single synth or bass part bounced on its own.
Poor candidates are full band mixes, heavily layered pads, drum-heavy loops, and anything where two instruments share the same register. Every other sound in the file becomes a candidate note.
Dry is better than wet
Reverb sounds lovely and confuses analysis. Celemony's Melodyne documentation explains that reverberation lets successive notes overlap even in a single-voice line, so the material behaves like it has more than one voice at a time (Audio characteristics and algorithms | Celemony). If you control the export, bounce the part before the hall or plate effect. You can add ambience back later to whatever sound plays the MIDI.
Why WAV is the safer container
Lossy formats such as low-bitrate MP3 discard detail and add encoding artifacts around attacks—exactly where a converter looks for note starts. An uncompressed WAV (or another lossless export) keeps those transients intact. SampLab Pro's converter also accepts other formats your browser can decode, but when you have a choice, export WAV.
Pull the part out of a mix first
If the line you need lives inside a finished song, separate it before converting. SampLab Pro's AI Stem Splitter can isolate vocals, bass, and other parts, and the stem can go straight into the converter. A clean stem nearly always beats the full mix, and it saves you from deleting dozens of notes that belonged to another instrument.
Only convert recordings you own or have permission to use. If the audio is someone else's song, make sure you have the rights or a licence before you upload it anywhere.
Prepare the File Before You Convert
A few minutes of preparation can save an hour of correction afterwards.
- Trim to the part you need. Cut count-ins, talking, and long silences. A short, focused clip—one chorus riff, one verse melody—converts more cleanly than a whole song. SampLab Pro's Audio Cutter can trim in the browser and pass the clip along.
- Check the level. Clipped peaks smear attacks; a very quiet take lets background noise compete. Aim for a healthy level without distortion.
- Reduce background noise. Hum, fans, and room chatter can show up as stray notes. If quiet notes go missing, a closer recording with less noise usually helps more than any setting.
- Mind the length and size. The SampLab Pro converter accepts files up to 50 MB with a source length between 1 second and 10 minutes. Longer sessions should be split into sections anyway.
- Run a short test first. Convert eight bars before committing to a long take. If the result is structurally wrong—notes in the wrong register for a whole phrase, a chorus turned into noise—fix the source and try again rather than correcting a broken draft.
How SampLab Pro's Free WAV to MIDI Converter Works
SampLab Pro's WAV to MIDI page runs Spotify's open-source Basic Pitch model directly in your browser. The project describes Basic Pitch as a lightweight, instrument-agnostic transcription model that handles polyphonic material and pitch bends (spotify/basic-pitch). The accompanying research paper explains how a single compact network can predict note onsets and pitches across many instruments rather than being trained for only one (arXiv 2203.09893).
What that means for you in practice:
- It runs on your device. The transcription model downloads the first time you convert; after that, your audio stays in the browser while the notes are estimated. Only a result you choose to save is uploaded.
- It is free to use. Transcribing and downloading need no account. Saving a result to your library is optional and requires sign-in.
- It accepts more than WAV. Alongside WAV, it reads MP3, FLAC, OGG, M4A, AAC, and WebM files your browser can decode, within the 50 MB and 1-second-to-10-minute limits.
- It shows its work. Notes appear on a piano roll you can preview and compare with the original recording. The preview plays a simple synth voice, not your original sound.
If you already work inside a desktop DAW, there are built-in paths too. Logic Pro, for example, can create MIDI from monophonic audio through Flex Pitch (Create MIDI from audio using Flex Pitch | Apple). The browser route suits the opposite situation: you want notes quickly, on any computer, without opening a full project.
Run the Conversion Step by Step
- Open the converter and drop your WAV onto the page, or choose a file. Audio coming from the Audio Cutter or a separated stem can arrive ready to convert.
- Confirm the audio is yours to use.
- Wait for the transcription. The first run takes longer because the model downloads once. Later conversions start faster.
- Inspect the piano roll. Look at the overall shape before individual notes. Does the contour follow the melody you remember? Are the notes in a sensible register?
- Preview against the original. Play the synth preview, then the recording, phrase by phrase. Listen for notes that start late, pitches that jump an octave, and short blips where the recording has a breath or a pick scrape.
If the overall contour is wrong, go back a step: isolate a better stem, trim a cleaner section, or reduce reverb. Re-running a better source is almost always faster than repairing a poor draft.
How to Get Cleaner MIDI from the Same Recording
When the first result is close but not quite there, these adjustments to the input usually improve the next pass:
| What you notice | Likely cause | What to try before re-converting |
|---|---|---|
| Many tiny extra notes | Noise, breaths, string scrapes, room tone | Trim silences, reduce background noise, use a closer take |
| Notes an octave too high or low | Strong overtones in bass or thick guitar tones | Use a cleaner tone or a stem with less low-mid build-up |
| Missing quiet notes | Low level or masking by other sounds | Record closer, raise the level, isolate the part |
| Notes smeared together | Reverb tails or sustain overlap | Export a dry version; shorten the clip |
| Chords turned into clusters | Dense voicings or several instruments | Split instruments into separate stems first |
| Whole sections wrong | Full mix or heavy effects | Separate the part and convert it alone |
Polyphonic sources such as piano chords are harder than single lines because overlapping notes share harmonics. Basic Pitch is designed for polyphony, but clarity still wins: a well-recorded piano phrase converts far better than a distant phone recording of a live room.
For vocals, keep in mind that consonants and breaths are real sounds the model may read as very short notes, and that slides and vibrato have to be collapsed into fixed pitches. A dry, steady melody gives the cleanest line.
Small Fixes After Conversion
No converter is perfect, so a quick correction pass is normal. Keep it light at this stage: shift any notes that landed an octave off, delete obvious stray blips, and trim notes that ring into the next attack. For anything beyond that, choose Edit these notes to carry the result into the free MIDI Editor in one click; our separate guide on the editor walks through pitch, timing, and velocity changes in detail.
One caution applies to every converted part: snapping everything hard to a grid can erase the feel that made the take worth converting. Correct what is clearly wrong and leave intentional push and pull alone.
Export and Use the MIDI
When the notes match the recording well enough, download the .mid file. Because it is a Standard MIDI File, it opens in practically any DAW, notation program, or hardware sequencer.
Useful next steps:
- Re-voice the idea. Put the melody on a synth, strings, or a sampled instrument you cannot play.
- Build parts around it. Double a vocal line an octave up, or derive a bass line from the root of each phrase.
- Hear it rendered. From the editor you can render notes back to sound with the built-in instruments, which is a quick way to check the result outside the page.
- Write it down. If you need printable notation, a cleaned
.midcan go into a lead-sheet workflow; our MIDI to sheet music guide explains how. - Save it. If you are signed in, you can store the result in your private library; otherwise just keep the downloaded file.
A Worked Example: Guitar Riff to MIDI
Picture a thirty-second guitar riff recorded straight into an audio interface as a WAV—dry DI, no backing track. That is close to ideal input.
Trim the count-in and the final ring-out, then drop the clip onto the converter. After the transcription finishes, the piano roll shows the shape of the riff. Preview it against the recording: perhaps two low notes jumped an octave and a fret-noise squeak became a tiny note. Those are quick fixes. Download the .mid, load it onto a bass patch an octave lower, and you have the start of an arrangement in a few minutes.
Now imagine the same riff captured as a phone MP3 in a stairwell. The reverb smears the attacks, the compression blurs the transients, and the low notes fight the room. The converter will still return something, but you can expect more stray notes and octave confusion. If that recording is all you have, convert it anyway and treat the output as a sketch—or re-record dry when you can. No model can recover a clean signal that was never captured.
Frequently Asked Questions
Is this WAV to MIDI converter free?
Yes. SampLab Pro's WAV to MIDI converter is free to use: transcribing and downloading need no account. Signing in is only required if you want to save a result to your library.
What files can I convert?
WAV, plus MP3, FLAC, OGG, M4A, AAC, and WebM files your browser can decode, up to 50 MB and between 1 second and 10 minutes long. For the best results, export a dry WAV of a single instrument.
Does the MIDI keep the sound of my recording?
No. A .mid file stores note events, not audio, so the preview plays a simple synth and your DAW will play whatever instrument you assign.
Can I convert a full song from WAV to MIDI?
You can try, but dense mixes produce missing and extra notes. Split the song into stems first and convert the part you need.
Can I convert vocals?
Yes. Solo, dry vocals are good inputs because only one pitch dominates at a time. Expect to remove a few short notes created by breaths or consonants.
Is my WAV file uploaded?
No. The audio stays in your browser while the notes are estimated. Only a result you explicitly choose to save is uploaded.
Where do I fix wrong notes?
Use Edit these notes to move the result into the MIDI Editor, or open the downloaded .mid in any DAW piano roll.