Audio to MIDI
Audio to MIDI: How to Convert a Recording for Free
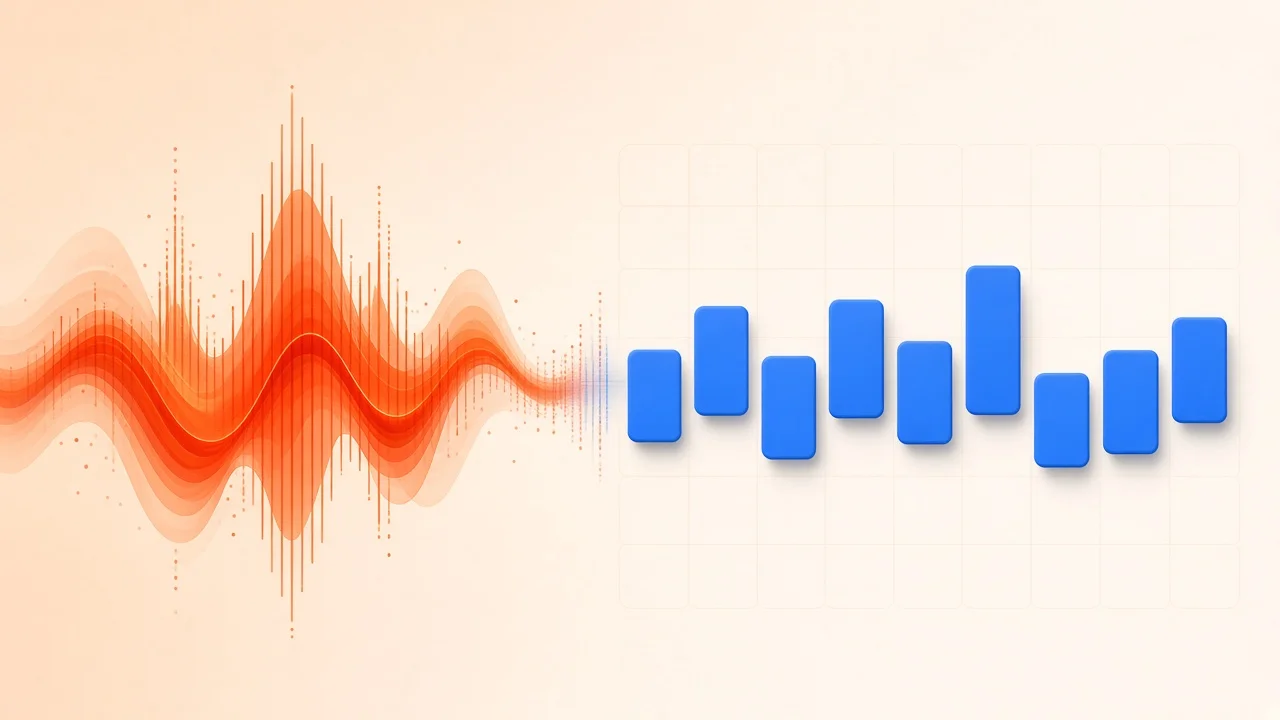
Converting audio to MIDI turns a sound you can only listen to into notes you can actually work with. Say you whistled a hook into your phone on the bus, or you have a guitar riff from an old practice session and no idea what you played. As audio, those ideas are frozen. As MIDI, they become a list of pitches and timings you can move, stretch, re-voice, and print. This guide covers how the conversion works, how to get a usable result for free in a browser, and what to do with the file afterward.
Sound Versus Instructions: What Actually Gets Converted
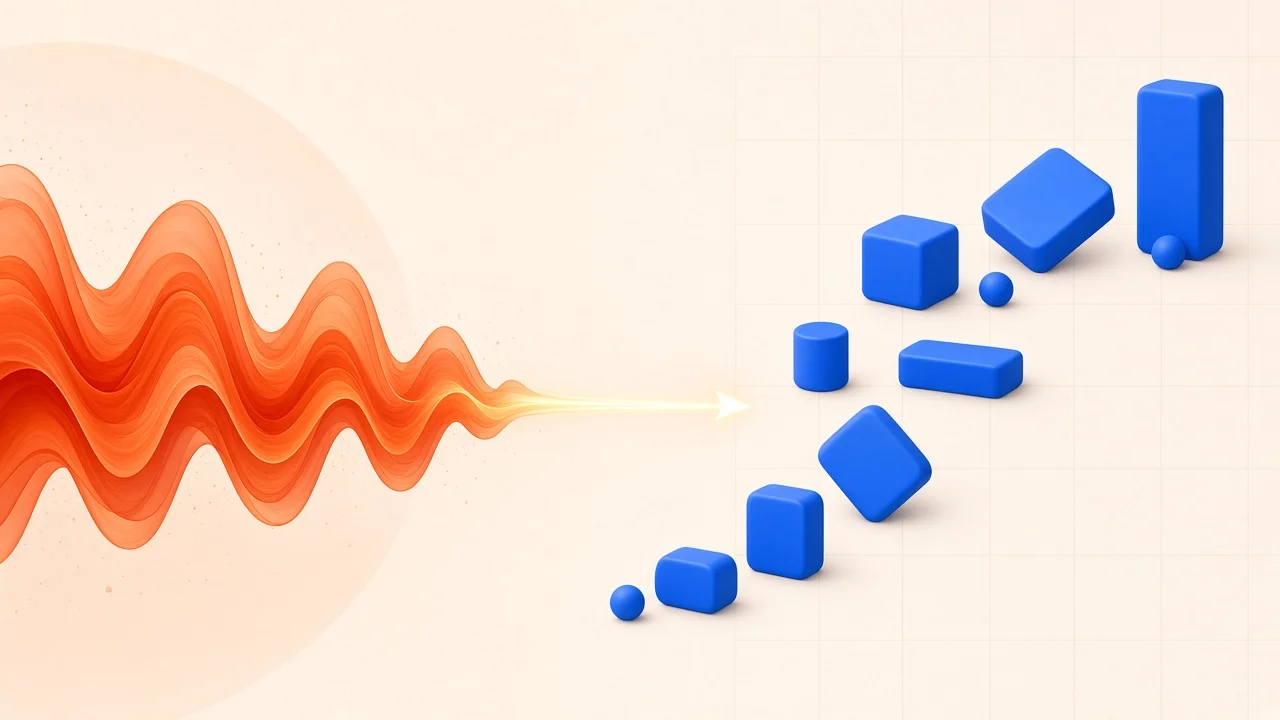
A recording captures air pressure changing over time. It knows nothing about notes. A MIDI file is the opposite: it contains no sound at all, only instructions such as "start an E4 here, hold it for half a beat, at this loudness." When a synth or sampler reads those instructions, it produces sound in whatever instrument you choose.
So "audio to MIDI" is really automatic transcription. Software listens to the recording, estimates which pitches are present at each moment, and decides where each note begins and ends. That is a guessing game, and the quality of the guess depends heavily on how clear the recording is. A single flute line is an easy puzzle. A rock mix with distorted guitars, cymbals, and three layered vocals is a very hard one.
Keep that in mind before you start, because it shapes every choice in the rest of this article.
Pick the Right Tool for the Material
Not every recording should go through the same route. Here is a quick way to decide:
- One instrument or voice, recorded cleanly: convert it directly.
- A finished song where you only want one part: separate the part first, then convert it.
- A long file where you only need a phrase: trim to that phrase, then convert.
- A part you already know how to play: sometimes playing it into a MIDI keyboard is quicker than any converter.
SampLab Pro has free browser tools for each of these steps, and results can be sent from one tool to the next in the same workspace without re-uploading. The browser tools run on your own device, and files are not uploaded unless you choose to save results.
Converting Audio to MIDI in Your Browser, Step by Step
This walkthrough uses SampLab Pro's free tools. None of the steps below cost credits.
- Trim to the part you need. Open the Audio Cutter, pick start and end points on the waveform, preview, and export a WAV. Shorter clips are faster to check and easier to judge.
- Run the conversion. Load the clip into the Audio to MIDI converter, which is built for melodies and solo instruments and uses the open-source Basic Pitch model. For recordings in general, the WAV to MIDI tool turns a recording into an editable MIDI file you can preview and download.
- Listen and compare. Play the result next to the original. Do the note starts line up? Are there obvious extra notes or gaps?
- Fix what is wrong. Open the file in the MIDI Editor, where you can drag notes, change pitch, length, and velocity, undo mistakes, and download the corrected file. It does not require a login.
- Take it further. Bring the MIDI into your DAW, render it to audio, or turn it into a printable lead sheet.
Why Basic Pitch Works Well for This
Basic Pitch is a compact, open-source transcription model. It can pick up several notes sounding at once, so simple chords are not automatically lost, and it is not tied to one instrument type. Because the model is small, it can run inside a web page rather than on a remote server. That is what makes a free, local conversion practical.
When the Recording Is a Full Song
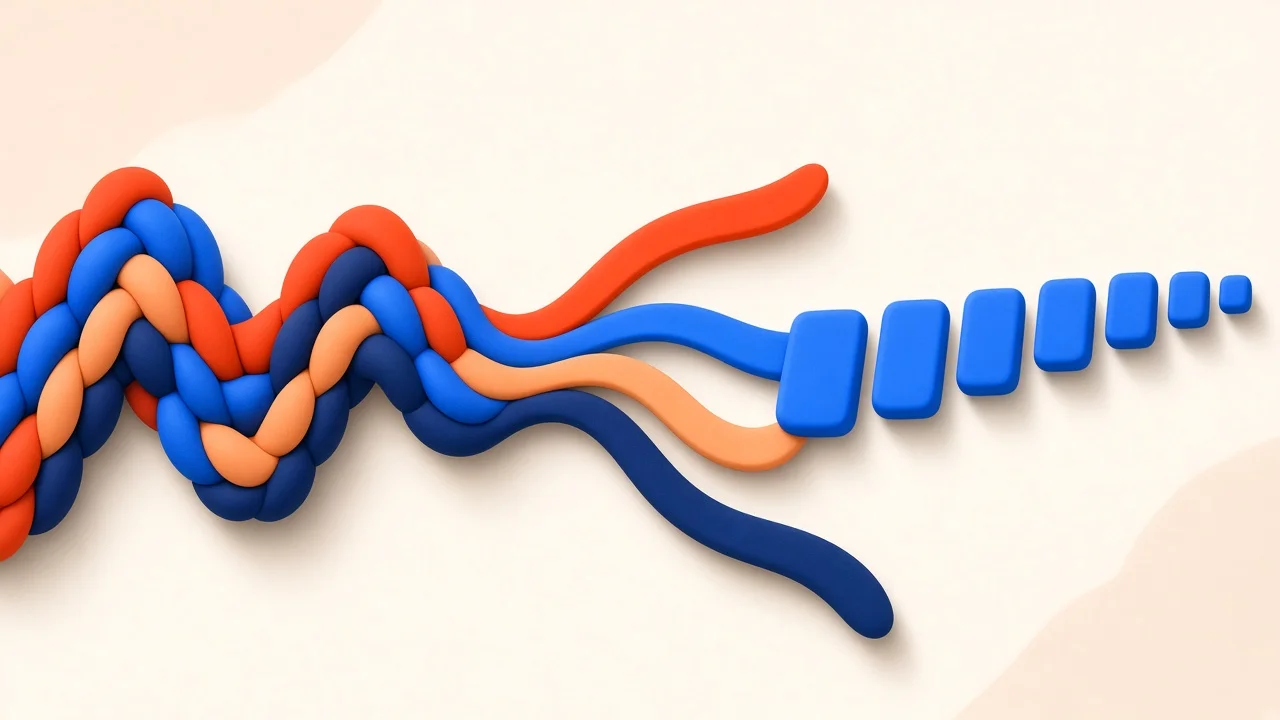
Most real-world requests involve a complete track: someone wants the bass line from a funk tune, or the piano part buried under drums and vocals. Feeding the full mix straight into a converter usually produces a cloud of wrong notes, because the model hears every instrument at once and tries to transcribe all of them.
The fix is to isolate the part first. SampLab Pro's AI Stem Splitter separates a song into vocals, accompaniment, bass, and drums, and lets you send a single stem straight to WAV to MIDI. This is an AI tool, so it requires signing in and costs 36 credits per job, charged only if the task succeeds. New accounts may receive 50 free credits on sign-up, depending on eligibility, which is enough for one separation.
For a bass line, the isolated bass stem is usually a big improvement over the full mix. For a vocal melody, the vocal stem lets the converter focus on a single line instead of competing harmonies.
The Alternatives: DAW Features and Transcribing by Ear
A browser converter is not the only way to get MIDI from audio.
Several digital audio workstations include their own conversion features, and dedicated pitch-editing plugins can export detected notes as MIDI. These are capable, but they usually come with a price tag and a learning curve, and they tie your workflow to a specific program.
Then there is the old-school method: load the audio into a DAW, loop a short section, and play or draw the notes on a MIDI track by ear. Done well, this is the most accurate option of all, since you can make musical judgments a model cannot. The downside is time. Transcribing a busy eight-bar phrase by ear can take an hour for a beginner. For quickly capturing an idea, or for getting a rough draft you then correct by ear, an automatic converter is the faster starting point.
A sensible middle ground is to combine them: let the converter produce a draft in seconds, then use your ears to clean up the parts it got wrong.
Getting a Cleaner Conversion
Almost every disappointing result traces back to the input. Before blaming the converter, check these:
- Isolate. One instrument at a time, always. Separate stems from full mixes first.
- Reduce reverb. Long reverb tails smear notes together and can produce phantom sustained notes. Choose the driest recording you have.
- Avoid heavy distortion. Distorted guitars create dense overtones that look like extra pitches.
- Keep it short at first. Convert a few bars, check the result, then move on to longer sections.
- Match the instrument to the job. Clearly pitched, well-defined notes such as piano, plucked guitar, or a clean synth lead convert more reliably than breathy vocals or bowed strings with heavy vibrato.
After conversion, expect to tidy up. Common fixes include deleting very short stray notes, joining notes that were split in two, and nudging timing onto a grid. All of that can be done in the MIDI Editor.
Using Your MIDI File Once It Is Ready
A .mid file is universal, which is a big part of its appeal. Practically every DAW and notation program can open it. Once it is loaded, the recording you started with is no longer locked:
- Swap the sound. Assign the notes to any virtual instrument. A phone recording of a piano riff can become a pad, a pluck, or a string section.
- Fix the performance. Quantize uneven timing, adjust velocities, or correct a wrong note without re-recording.
- Change the key. Transpose the whole part up or down in one move.
- Hear it back quickly. SampLab Pro's MIDI to WAV tool renders MIDI with built-in instrument sounds into a stereo WAV, which is handy for sharing a sketch.
- Print it. The MIDI to Sheet Music tool creates a lead sheet draft with chord symbols that you can print or export as MusicXML for further editing in notation software.
This flexibility is the real reason to convert. Audio is a photo of a performance; MIDI is a blueprint you can rebuild in any style.
A Practical Example
Imagine you recorded yourself humming a chorus melody into a voice memo. The memo has room noise, a bit of echo from the kitchen, and some talking at the end.
First, trim off the talking and keep only the eight bars of melody with the Audio Cutter. Next, run that clip through Audio to MIDI. The draft will probably catch most of the pitches but may add a few short blips where your voice wavered or a breath was audible. Open the result in the MIDI Editor, delete the blips, lengthen any notes that got cut short, and nudge the first note so it lands on the beat. Finally, drag the MIDI into your DAW, assign a lead synth, and you have a usable melody in a few minutes, from a hum.
Frequently Asked Questions
Is converting audio to MIDI with SampLab Pro free?
Yes. The browser tools, including Audio Cutter, Audio to MIDI, WAV to MIDI, and MIDI Editor, are free and do not use credits. Only the AI tools, such as the AI Stem Splitter, require credits.
Are my files uploaded?
The browser tools run on your device, and files are not uploaded unless you choose to save results.
How accurate will the MIDI be?
No automatic transcription is perfect. Treat the output as a strong first draft and expect some cleanup, especially with busy or reverberant recordings.
Can I convert a full song to MIDI?
You can try, but results are much better if you separate the part you want first. The AI Stem Splitter splits a song into vocals, accompaniment, bass, and drums for 36 credits per job.
Does MP3 work, or do I need WAV?
Recording quality matters far more than file format. A clean, isolated performance in a compressed format will usually convert better than a cluttered mix in a lossless one. If you trim with the Audio Cutter, it exports WAV.
What can I do with the MIDI afterward?
Edit it in the MIDI Editor, open it in any DAW, render it to WAV with MIDI to WAV, or turn it into a printable lead sheet with MIDI to Sheet Music.