Isolate bass
How to Isolate the Bass from a Song
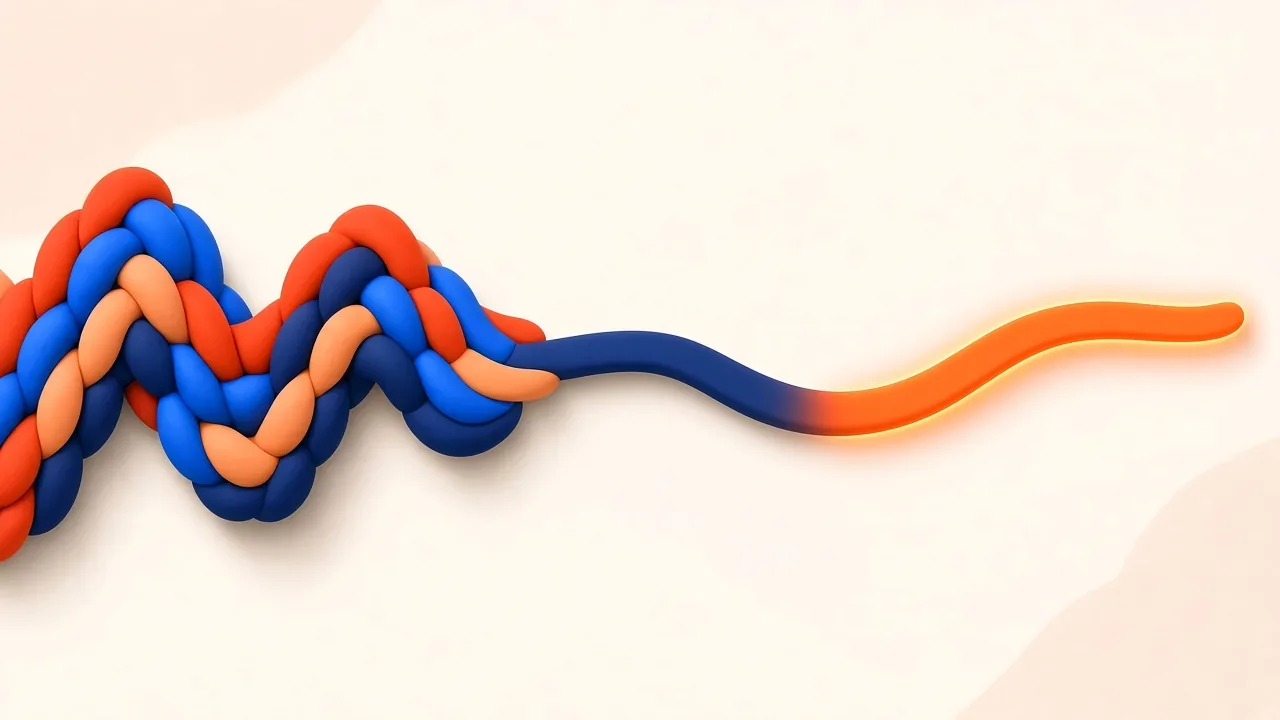
Isolating the bass from a song and removing the bass from a song sound like the same request. They are not. One gives you a bass-only file so you can hear the line, transcribe it, or keep it as the foundation of a new arrangement. The other gives you everything except the bass, so you can practise a cover, replace an 808, or hear how a record changes when its low-end instrument disappears. Both start from the same source-separation idea: a finished stereo mix is not a folder of studio tracks, and software has to estimate each source.
A simple EQ cut can make a mix feel thinner. It cannot tell a bass guitar from a kick drum, a low piano note, a baritone vocal or a synth that lives in the same octave. If you want a dedicated bass stem—or a backing track that still has kick weight—you need a separator that actually outputs bass as its own group. SampLab Pro’s AI Stem Splitter can do that in Cloud Standard’s four-track mode (vocals, accompaniment, bass and drums) or in Local 6 Tracks (which also estimates guitar, piano and “other,” and requires a sign-in). This guide stays on that single task. For the wider concept of stems, bleed and artifacts, read the earlier article on stem separation.
Only upload recordings you own or have permission to process. The form asks you to confirm that. Pulling a bass line out of someone else’s record does not make the performance, the composition or the recording yours.
Two Outputs From the Same Split
Output A: a bass-only file. Whatever the model grouped as bass ends up here: an electric part, a synth line, sub energy or 808 hits, depending on how the record was made. Learn the notes from it, prepare an authorised sample, or build new drums and chords around a line you want to keep.
Output B: a bass-free reconstruction. Mute or omit the bass stem and recombine the rest (vocals, drums and the remaining instruments). Use that result for bass covers, rehearsal, live practice, low-end replacement or remixing.
The bass stem is an estimate, not the lost multitrack from the original session. Research four-stem systems typically predict vocals, drums, bass and “other,” and the widely used MUSDB18 benchmark follows that grouping. Early public tools such as Spleeter made those four buckets familiar to a wider audience; later open-source work, including Demucs, framed the same task as recovering each source from a complete song while documenting that artifacts and bleed can remain. Those project names describe a research and hobby ecosystem. They are not used here as the labels of SampLab’s Cloud Standard or Local 6 Tracks engines.
Because the model is guessing, it may park some low synth, kick resonance or guitar harmonics in the bass file, and it may send some real bass detail into “other” or into the drums. Preview the busiest section before you trust either output.
A Low Cut Is Not the Same as Lifting Out the Bass
A bass part is not a single slab of spectrum. The fundamental sits low, yet the harmonics that carry pitch on a phone speaker live higher up. Kick drums, floor toms, low piano notes, synths and some vocals share that same region. Sweeping a high-pass across the mix turns all of that down at once. The filter has no concept of which instrument produced the energy.
That is also what a dedicated filter tool does when it is honest about its job. SampLab Pro’s frequency band splitter divides a file into a low band (low-pass at 180 Hz), a body band (band-pass centred at 900 Hz) and a high band (high-pass at 2800 Hz), plus the original for comparison. It is digital filtering, not AI separation, and the page states that it cannot isolate vocals, drums or bass. Use it when you want to hear how much energy lives below 180 Hz. Do not use it when you need a bass performance you can solo, loop or write out as tab.
EQ still has a place: a quick thinner practice mix, or a first listen when you only need the bass to be less distracting. It is the wrong tool when you must preserve the kick while dropping the bass instrument, or when you want the bass line by itself.
How to Isolate or Remove the Bass in Seven Steps
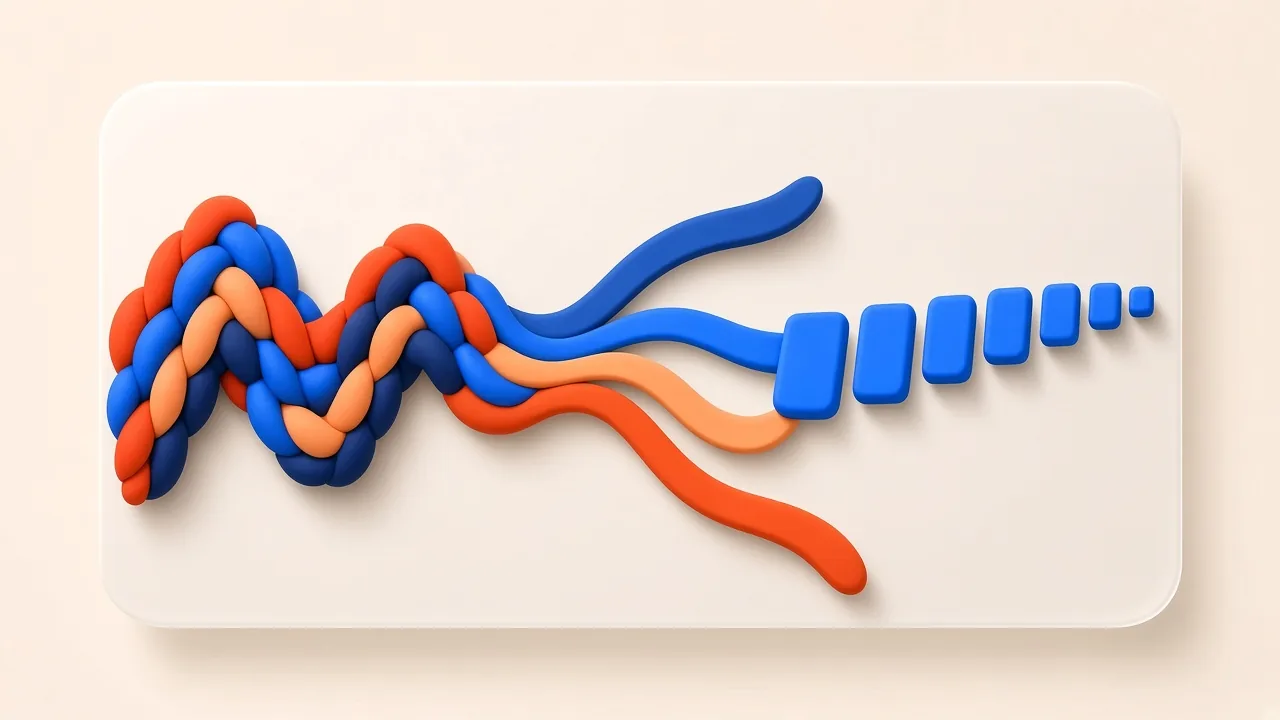
This workflow produces both useful outputs. Stop early if you only need the bass stem.
- Start with the best source you are allowed to use. Prefer the original WAV or FLAC when you have it. The Library of Congress description of WAVE is a reminder that linear PCM keeps audio without a lossy encode. A clean high-bitrate MP3 or AAC can still separate well; a file that has been downloaded, edited and re-encoded several times cannot recover the detail those encodes discarded. Converting a damaged MP3 to WAV only changes the container.
- Open the stem splitter and pick a mode that includes bass. A two-way split that only yields vocals and accompaniment will not produce a standalone bass file. Choose Cloud Standard’s four-track layout, or Local 6 Tracks if you also want guitar and piano estimates and your computer can run the on-device engine (sign-in required; the audio stays on the device). The Cloud versus Local comparison explains the trade-off in more detail.
- Upload the song and confirm you own it or have permission. Common formats are accepted; the form lists files from 1 second to 6 minutes and up to 50 MB. If you plan to recombine stems later, do not trim the start differently across versions—shared start times keep reconstruction aligned.
- Process the full mix (or a section you already trimmed, if you only care about one passage). The model estimates bass as its own track beside drums, vocals and the remaining instruments.
- Preview the difficult section, not only the intro. Go to a passage where the kick, the 808, low piano, overdriven guitar and the vocal all speak at once. Check the bass file and the leftover mix for bleed, missing sub and smeared low end.
- Download what you need. Take the bass stem when the job is isolation. Take the non-bass stems when the job is a bass-free track. Keep the files together and keep their names readable.
- Recombine without bass if that is the goal. Import the non-bass stems into a DAW at the same timestamp, leave faders at unity first, confirm they stay aligned, then export with the bass muted. Change balances only after you have confirmed that the set still lines up and sums in a predictable way.
If you need only the bass line, stop after step 6. Silencing the bass stem among its neighbours gives more control than dragging a filter across the intact stereo mix.
Desktop users who self-host separators sometimes run a local GUI such as Ultimate Vocal Remover to try several models on one machine. That is a valid alternative path; it is not required for the browser workflow above.
Start Upstream: The File You Feed Matters
A separator cannot invent transients, harmonics or phase detail that heavy compression, clipping, denoising or repeated transcoding already removed. Work upstream before you try to “fix” a watery stem.
- Best: the original lossless file you are authorised to process.
- Usable: a clean, high-quality compressed copy. Judge it on the densest section.
- Weakest: social-media rips, screen recordings and files that have passed through several encoders.
Keep a few working habits. Use the earliest clean copy. Avoid normalising every stem separately before you reconstruct the mix—that hides whether the separator actually summed back to the source. Avoid unnecessary sample-rate conversions while you edit, when you can. Judge the tool on the hook, the drop or the most crowded chorus—not only the opening bars.
Repair Problems Without Sanding Off the Line
Bass problems after separation usually fall into four groups.
The kick is audible inside the bass file. The two sources share time and spectrum. Trim or fade the exposed hits, use clip gain, or reach for dynamic EQ or expansion only where the drum pokes through. A harsh high-pass on the bass will also steal its fundamental.
The bass loses definition. Listen for missing upper harmonics before you boost sub-bass. Gentle saturation can restore audible pitch on small speakers, but it changes the tone. If mid-bass information landed in another stem, a controlled blend often sounds more natural than a drastic EQ boost.
The lowest octave surges or wobbles. Fix level with clip gain or slow automation before you lean on a compressor. If the compressor is grabbing leftover drum hits, the pumping gets worse. Listen on headphones and on speakers; some systems simply hide that octave.
You can still hear bass in the track that should not have any. Some harmonic energy may have been filed under “other” (or under guitar/piano if you used six tracks). Automate only the spots that distract you. A wide filter here can bruise the rest of the arrangement.
Two extra checks save hours. Import every stem at the same start point; random nudges create comb filtering and stop the set from reconstructing. Compare versions at similar loudness—a louder bass stem often sounds “fuller” simply because it is louder, even when it contains more kick bleed. Toggle between the isolated stem, the original mix and the bass-free reconstruction.
Hear the Line, Then Play Without It
The most useful practice workflow uses both outputs.
Find the song’s key and tempo, and confirm the reading by ear if the recording drifts, changes key or uses a half-time feel. Loop one or two bars of the isolated bass. Lock the rhythm first: how long notes last, where slides and ghosted attacks sit, where the part rests, and whether it leans ahead of the kick or sits behind it. Name the pitches after that. Slow the stem carefully with a high-quality time-stretch mode; extreme stretching blurs attacks, especially when the separated file already has artifacts.
Then mute the original bass and play against the bass-free reconstruction. Begin slower than the record if you need to, then bring the tempo back up to the original. Judge your playing on feel and articulation, not only on whether each pitch matches. Bounce a study mix with the extracted bass raised, and a second mix with that stem muted for playing along. Leave a count-in if the song begins without drums, and leave headroom for your own instrument.
When you want the line on the page, send a clean bass stem into Audio to Sheet Music and use Bass tab mode. That path is unpacked in how to convert audio to sheet music. The automatic draft will still need checking—especially around slides and ghost notes—but it is faster than starting from a blank tab staff.
Rewrite the Foundation Without Starting the Mix Over
Once the other stems sit together without the original bass, you can design a new low end while the vocal, drums and harmonic parts you are allowed to use stay locked in time.
If you are removing an 808 from a sample you have the right to use, separate the bass, rebuild the remaining stems and write a new bass or 808 part in the song’s key. Watch the relationship to the kick, the note lengths and any leftover sub in another stem; automate those exposed moments instead of thinning the entire sample.
If you are keeping the bass and replacing everything else, treat the isolated line as the rhythmic and harmonic anchor. Confirm that it follows a stable key and tempo, then build around its phrasing rather than forcing it onto a conflicting groove.
If the separated bass lacks presence, a new mid-bass layer can carry pitch on phones and laptops while the original stem holds the sub movement. Keep those layers in phase, carve the frequencies they share, and pick which one is allowed to own the sub. Finish by comparing the new mix with the source at matched loudness, in mono, on a phone, and at low volume.
When the Split Does Not Sound Usable
If a kick still lives inside the bass file, the two sources were sharing low energy and transients—edit the exposed hits, try light dynamic control, or run the other mode and compare. A watery or unstable bass usually means the mix was dense, the file was already damaged by encoding, or the estimate was uncertain; go back to a cleaner original and judge it on the crowded section, not the intro. When the no-bass reconstruction feels thin, some piano, synth or kick weight may have travelled with the bass—bring back only the useful slice of another stem. If the part vanishes on phones, the isolated file may have too little mid-bass harmonic; a touch of saturation or a parallel mid-bass layer can restore pitch without rebuilding the sub. Files that refuse to sum again were often given different start times, extra gain or a sample-rate conversion—park every stem at the same timestamp and reset the first fader pass. Clicks at kick-bleed edits almost always come from raw cuts; add short fades and listen right at the join.
Every recording will not separate cleanly. Overdriven low-end samples, stacked synth parts, pumping sidechain, wide stereo movement, and lines that double guitar or vocal overtones all give the estimator less to go on. You do not need a silent spectrogram. You need a file that works for practice, transcription or a mix you are allowed to release.
Splitting a Mix Is Not the Same as Owning It
Work only with recordings you created or have permission to handle. Lifting a bass part out of someone else’s record does not hand you the composition or the master. U.S. law treats those as different protected works; the Copyright Office describes that split in its PA and SR registration overview. Fair use is argued case by case and is not a standing licence to publish stems.
Prefer your own sessions, public-domain material, or files whose licence already covers the use. Store the permission trail with the project. Private practice and a public release are not automatically judged by the same rules.
Frequently Asked Questions
What is the shortest path to a bass-only file? Choose a mode that actually emits bass—Cloud Standard with four tracks, or Local 6 Tracks—listen through the densest passage, then download that stem. Repair kick bleed or unsteady sub later in a DAW if you hear it.
How do I build a version of the song with no bass? Run the same split and put the remaining stems back together with the bass file muted. Give every file the same start time before you bounce.
Will a high-pass filter do the job instead? It can make the low end quieter, but it cannot recognise a bass instrument. Kick weight, low piano, synths and anything else under the cutoff get turned down too. Reach for separation when you need the instrument removed or isolated, not just the spectrum thinned.
Can the drums stay intact if the bass leaves? The tools try to tell those sources apart, and they often succeed well enough to practise with. Overlap is still common, so some bleed or missing weight can remain. Check the crowded sections and repair only what you hear.
What about 808s? Much of an 808—including the sub and some of its harmonic buzz—often lands in the bass bucket. Distortion, kick stacks and notes that double other parts can spill fragments into neighbouring stems.
Which file should I upload? The original WAV or FLAC, if you have it. A clean high-bitrate MP3 or AAC is the next-best option. Saving a compressed file as WAV does not bring discarded data back.
Does isolating the bass clear me to publish it? No. Running the splitter is not permission to post, sell or sample the result. Stay with audio you own or are allowed to use, and get advice before any public or commercial release.