MIDI editor
MIDI Editor Online Free: Fix Notes and Timing
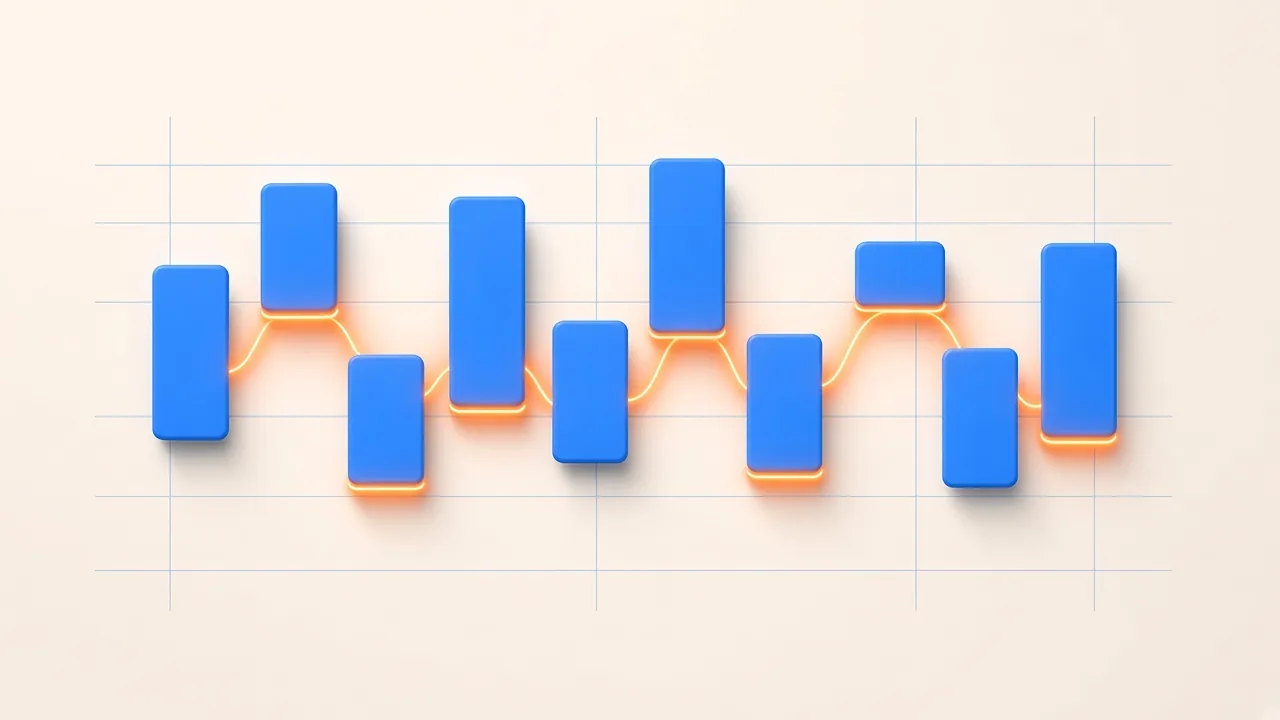
A free online MIDI editor is the tool you open when a MIDI part is almost right. The contour of the melody is there, but one pitch sits an octave low, two ghost notes clutter the grid, a release hangs too long, and the velocities are flat. Fixing those problems on a piano roll is faster than re-recording—and it is exactly what SampLab Pro’s browser MIDI Editor is built for.
This guide follows an online-editor workflow rather than a tour of every desktop DAW. You will see what a MIDI file actually stores, why a .mid can look “silent,” how to use a browser piano roll to change pitch, length, timing, and velocity, how to export the result, and when a lightweight online editor is enough versus a full DAW. Piano-roll concepts that show up in Ableton, FL Studio, Logic, and other manuals still apply; the difference is that you can make the common repairs without launching a full session.
What a MIDI Editor Is (and What It Is Not)
A MIDI editor lets you change note events: pitch, start time, duration, and velocity (how hard the note was struck). Ableton’s Live manual describes a MIDI clip as notes and controller data that specify pitch, length, position, and dynamics—velocity in MIDI terms—for playing an instrument (Editing MIDI — Ableton Live 12 Manual). Yamaha’s overview of MIDI editing makes the same point in plain language: MIDI tracks carry data that tells the computer which note to play and when, along with performance details such as velocity, so you can reassign the part to any virtual instrument afterward (MIDI Editing | Yamaha Hub).
What the editor does not do is store the original recording. There is no waveform inside a Standard MIDI File. If you need to change the sound of a WAV, that is an audio editor. If you need to change which notes are played, when they start, how long they last, or how hard they hit, that is a MIDI editor.
SampLab Pro’s MIDI Editor is a note-grid tool in the browser. You open a .mid / .midi file, or continue from audio transcription in one click. You drag notes, set exact values, adjust velocity, undo through recent changes, preview with a simple built-in synth, and download the edited file. It does not accept raw audio as input and does not invent sheet music by itself—those jobs belong to conversion and notation tools upstream or downstream.
What a MIDI File Is (and Why It Sometimes Has “No Sound”)
The MIDI Association describes Standard MIDI Files as timed event lists for playback, distinct from the real-time MIDI cable protocol (About MIDI Part 4: MIDI Files). A .mid says “play note 60 at this tick, release it later, at this velocity.” It does not contain piano samples or guitar amp noise.
That is why a MIDI file can open and still sound empty: the player has no instrument assigned, or the General MIDI program change points at a patch your player maps differently. General MIDI defines a common instrument map so devices can agree on rough categories of sounds (General MIDI | MIDI.org), but “patch 1 = acoustic piano” is still rendered by whatever sample or synth the host provides. Silence usually means “no sound generator hooked up,” not “the notes are missing.”
In SampLab Pro’s editor, preview uses a simple built-in synth so you can hear pitch and timing changes immediately. When you download the .mid and open it elsewhere, pick an instrument in that host to hear a production-ready tone.
How the Piano Roll Shows Notes
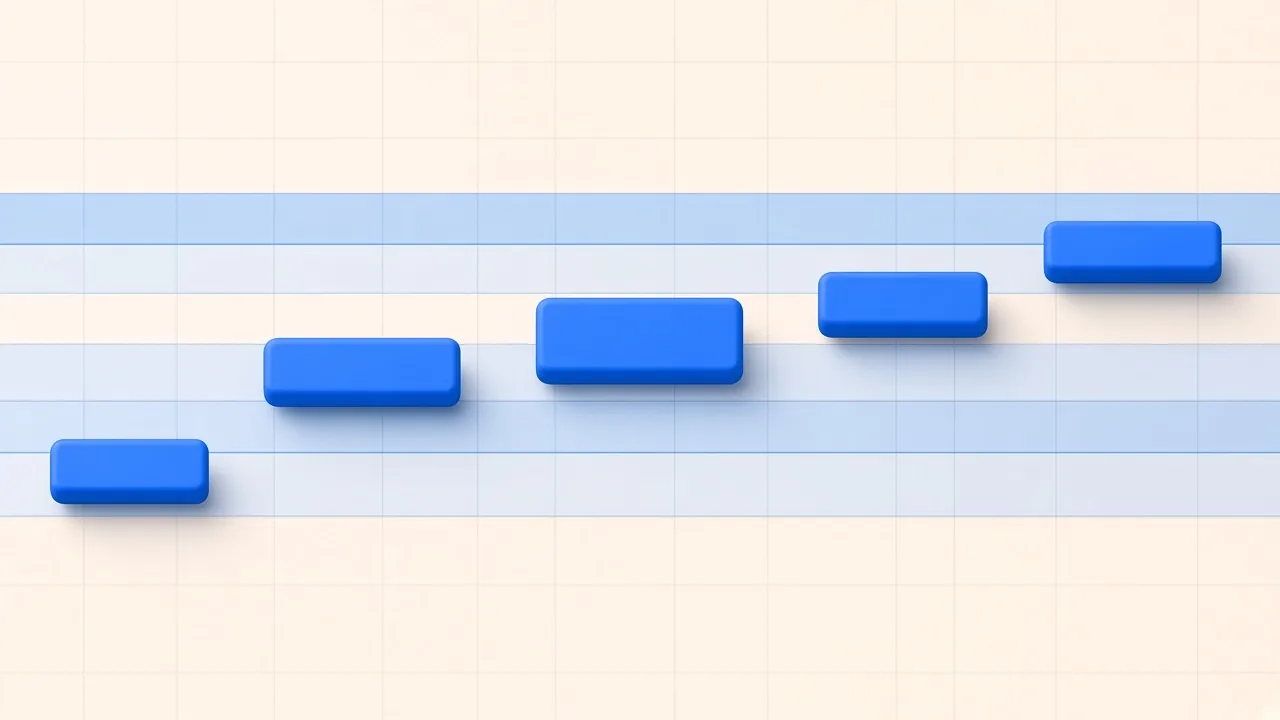
Modern piano rolls draw pitch vertically and time horizontally. Each rectangle is a note; its left edge is the onset, its width is the duration. That layout settled after early MIDI programs disagreed on axes; today’s DAWs and browser editors share the vertical-pitch design. Apple’s Logic Pro documentation frames the Piano Roll Editor as the place to create and edit MIDI notes visually (Overview of the Piano Roll Editor). FL Studio’s manual likewise treats the piano roll as the detailed note editor where pitch, timing, and related properties live (Piano roll | FL Studio Manual).
Historically, the metaphor comes from perforated player-piano paper: pitch positions across the roll, time along the length. Digital rolls kept the idea and swapped paper for a zoomable grid. Knowing that history is optional; knowing that higher on the grid means higher pitch is not.
How to Edit a MIDI File Online (Step by Step)
Each step below covers one of the edits people search for most—pitch, length, timing, velocity, and deleting stray notes—in the order that keeps one fix from undoing another.
1. Open notes in the editor
Go to the MIDI Editor. Drop a .mid or .midi file (Format 0/1 with musical tick timing), or choose Edit these notes after a transcription so the notes arrive without a re-upload. The page reads files up to 50 MB, 20,000 notes, and 10 minutes. Overlapping notes of the same pitch on the same channel and track are not supported, so separate those before you expect a clean grid. Files stay in the browser while you work; download or save before you leave if you need a lasting copy.
2. Get around the grid
Zoom in for detail or fit the whole timeline on screen, switch between tracks when the file has more than one, and use the arrow keys to step from note to note. Play the built-in preview once before touching anything: judge the overall shape first, cosmetics later.
3. Fix wrong pitches
Drag a note up or down, or select it and type an exact pitch. Octave mistakes deserve a straight twelve-semitone move rather than a slow chromatic crawl. A blue note or a passing tone outside the named key may be exactly what the player meant—if it sounds right against the harmony, leave it. When a whole phrase sits in the wrong register, move each note by the same interval, or apply a bulk transpose later in your DAW if that is faster.
4. Delete notes that should not be there
Breaths, consonants, chair noise, and fret scrapes often become tiny, high-velocity chips. If a note was never a pitched musical event, delete it. Undo brings it back if you were wrong.
5. Fix note lengths
Drag a note's right edge to shorten or lengthen it, or type a new duration. Trim releases that bleed into the next attack and extend notes that were chopped too early. Overlaps that are genuine legato can stay.
6. Adjust timing lightly
Move a note horizontally, or type a new start time, when it sits obviously early or late. Prefer small, targeted moves over pulling every onset onto the grid. Ableton's editing guidance notes that you do not always want material to sound too "quantized" (Editing MIDI — Ableton Live 12 Manual), and Yamaha contrasts hits placed exactly on grid lines with notes left between them when the feel matters (MIDI Editing | Yamaha Hub). Strict sixteenth placement on a loose vocal phrase is what creates the "robot MIDI" sound.
7. Shape velocity
Velocity is not mixer volume; it is how hard the note was struck, which many instruments map to both loudness and tone. Select a note and set its velocity: raise accents and phrase peaks, soften pickups and ghost notes, and avoid a perfectly flat lane unless you want a programmed feel. A flat lane is the most common giveaway of unedited transcription. FL Studio's piano-roll documentation likewise treats velocity as first-class editable note data (Piano roll | FL Studio Manual).
8. Undo freely, preview, and export
Undo and redo cover your last 50 changes, so try an idea and step back if it fails. The preview uses a simple synth for every note; it does not reproduce the original instruments, pedals, pitch bends, or controller effects, but those events stay in the downloaded file at their original times. When the notes are right, download the edited .mid, render it to sound with MIDI to WAV, or turn it into a draft lead sheet with MIDI to Sheet Music.
Only edit files you have rights to use. If the notes came from someone else's recording, you still need permission for that source material.
Online MIDI Editor vs Desktop DAW
| Need | Online MIDI editor (browser) | Full DAW piano roll |
|---|---|---|
| Fix wrong notes after transcription | Strong fit | Also fine, heavier |
Quick .mid download on any machine |
Strong fit | Depends on installed software |
| Deep mixing, plugins, MPE, arrangement | Limited | Strong fit |
| Learn piano-roll basics | Strong fit | Strong fit, steeper UI |
| Large multi-track production | Not the goal | Strong fit |
Use the online editor when the job is cleanup and export. Open a DAW when the job is a full production. The concepts transfer: selection, drag pitch, drag edges, velocity lanes, and careful timing edits show up in Ableton, FL Studio, Logic, and browser tools alike. Official manuals remain the best reference for host-specific shortcuts (Ableton; FL Studio; Logic Pro).
Where the Notes Come From
The editor only reads MIDI. If you are starting from a recording, convert it first with WAV to MIDI and use Edit these notes to bring the result across; how to choose and prepare a recording for conversion is covered in our WAV to MIDI converter guide. This page assumes the notes are already in the grid.
What “Free” Covers in SampLab Pro’s MIDI Editor
On SampLab Pro, the MIDI Editor is free to use in the browser for opening, editing, previewing, and downloading local files; you only need an account when you want to save a result to your private library. Opening, editing, and downloading a local file needs no sign-in, and the file is read, edited, and previewed on your device—nothing is uploaded unless you choose to save. Saving to the library is an explicit action, so download your edited copy before you leave the page if you are not signed in.
A Short Editing Checklist
- Confirm you have rights to the MIDI or to the recording that produced it.
- Open the file, or the transcription handoff, in the editor.
- Preview; judge structure before cosmetics.
- Pitches → stray notes → lengths → timing → velocity.
- Undo experiments you do not like; preview again.
- Download the
.mid, render it to audio, or draft a lead sheet.
A Worked Cleanup: Transcribed Melody to Exportable MIDI
Suppose a hummed eight-bar idea has already been transcribed and lands in the editor with a recognizable tune plus three problems: a low note sitting an octave down, two consonant clicks turned into sixteenth-note chips, and velocities stuck near the same mid value.
Start with the octave. Select the low outlier and move it up twelve semitones so the contour matches what you sang. Delete the two chips—they were never pitches. Play the phrase. If a vowel was cut short, drag that note’s right edge until the sustain matches your breath. Leave a slightly early pickup where it is; that push is part of the performance. Finally set a higher velocity on the downbeats of bars one and five so the line accents like a singer leaning into the lyric. Preview, undo once if an accent went too far, preview again, download.
That five-minute pass is the entire value proposition of a free online MIDI editor after transcription. You did not open a mixer. You did not browse a thousand sample libraries. You repaired the note list until it told the truth about the take.
Contrast a second file: a dense piano reduction exported from a notation program, already clean but in the wrong key for a singer. Move the notes down a minor third (or apply a bulk transpose in your DAW), spot-check the new top notes for range, export. No conversion artifacts—only a register change. The same editor handles both jobs because both jobs are note-list edits.
Velocity, Timing, and “Human” Feel
Velocity lanes are where programmed parts start to sound played—or where transcribed parts confess they were estimated. Many instruments darken or brighten with velocity, not only get louder. A flat lane after conversion is a clue that the model guessed onsets without a strong dynamics map. Painting a simple arc—softer pickups, stronger arrivals—often does more for realism than micro-editing every pitch.
Timing works the same way. Yamaha’s MIDI editing overview contrasts fully quantized hits that sit on grid lines with notes that fall between them when the groove needs space. Ableton’s editing chapter similarly warns against material that sounds too quantized. Browser editors that expose start time, duration, and velocity fields let you apply that judgment without learning a new DAW’s hotkey bible first.
If you later open the same .mid in FL Studio, Logic, or Live, the piano-roll skills transfer: select, drag pitch, drag edges, edit velocity, decide how hard to snap to the grid. The online pass simply removes the trash before the session gets serious.
Frequently Asked Questions
What is a free online MIDI editor good for?
Repairing note data: wrong pitches, bad timing, awkward lengths, and flat velocities—especially after automatic transcription. It is not a full mixer or sample library host.
Can I edit MIDI online without installing software?
Yes. SampLab Pro’s editor runs in the browser. Editing a local file and downloading the result does not require a desktop DAW install.
Why does my MIDI file make no sound in some players?
MIDI files contain events, not audio. Assign an instrument or use a player that maps General MIDI programs to sounds (General MIDI | MIDI.org; About MIDI Part 4: MIDI Files).
How do I fix wrong notes after WAV to MIDI?
Choose Edit these notes on the converter to open them in the MIDI Editor, then work through pitches, stray notes, lengths, timing, and velocity in that order, as described in the steps above.
Should I quantize everything?
No. Full quantization parks every onset on the grid and can erase musical push and drag. Yamaha and Ableton materials both treat quantization as a musical choice, not an automatic virtue. Nudge individual notes first; if a section truly needs grid correction, apply a light quantize in your DAW.
What file types does the SampLab MIDI Editor accept?
.mid and .midi Standard MIDI Files (Format 0/1, tick timing), up to 50 MB, 20,000 notes, and 10 minutes. Same-pitch overlaps on the same channel and track are unsupported.
Does the online editor replace Ableton, FL Studio, or Logic?
No. It replaces the “I only need to fix these notes and export a .mid” session. Host-specific manuals remain the authority for advanced piano-roll features in those DAWs.