Audio cutter
How to Cut an MP3 or WAV Online for Loops
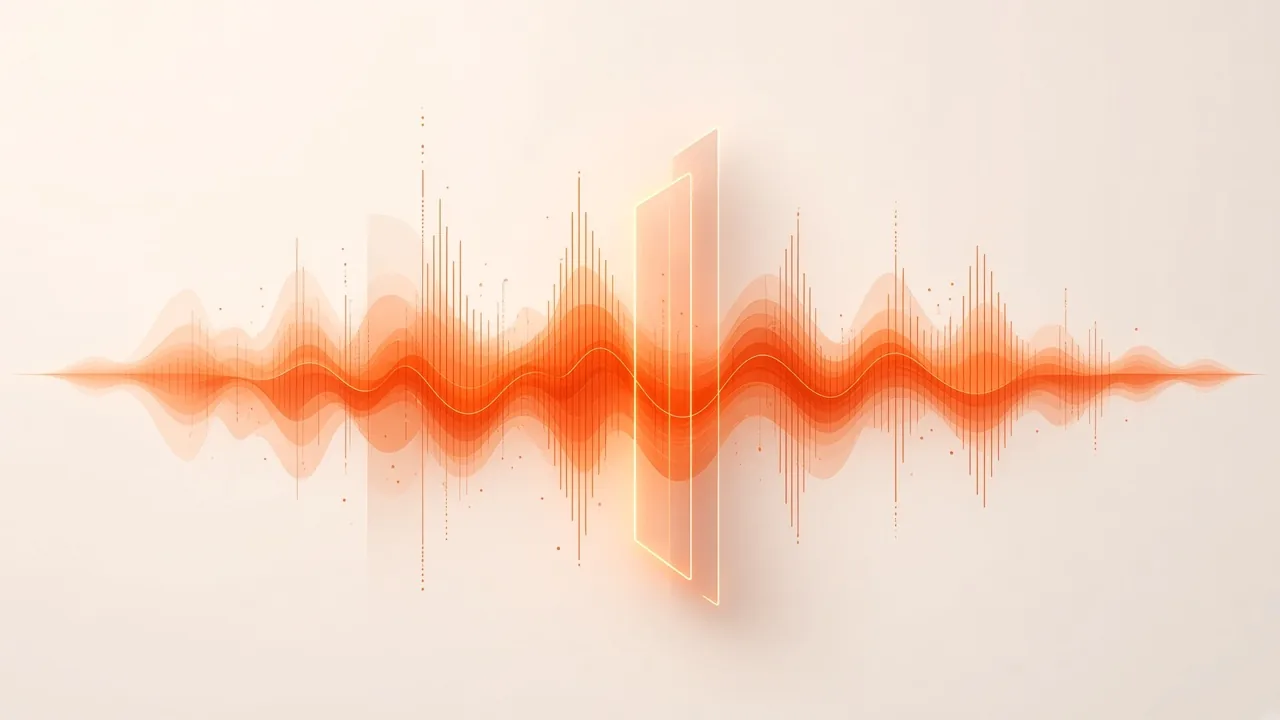
Trimming a voice memo for a message only asks you to pick a start and an end you like. Cutting a sample or loop from a song asks for more. The slice has to land on a musical “one,” last a whole number of bars at the track’s tempo, and meet itself again without a click, a gap, or a rushed downbeat—because you will hear that join every time the loop repeats. An online audio cutter is enough for that job if you can see the waveform, preview the selection, and export a file that is safe to drop into a DAW.
SampLab Pro’s Audio Cutter runs in the browser. You load an MP3, WAV, FLAC, OGG, M4A, AAC or WebM file (up to 50 MB, source length from 1 second to 10 minutes), mark a region on the waveform or by typing times in seconds, preview only that region, and download a 16-bit WAV. The cutter does not add fades or volume changes, and it does not export MP3. When the selection is at least one second long, you can send the exact clip to AI Stem Splitter or WAV to MIDI without downloading and re-uploading it. This guide is written for musicians who want a loop or sample, not a generic “trim my podcast” checklist.
Only cut audio you own or have permission to process. Sampling a copyrighted recording for anything you publish or sell generally needs clearance from the rights holder, no matter how short the clip; U.S. fair use is a case-by-case analysis, not a blanket license for one-bar loops.
Why a Repeating Slice Is Harder Than a Crop
In a conventional editor, trim means keep the selected audio and discard what sits outside it. Cut, copy and paste then move that region around, which is the everyday language of the Audacity cut/copy/paste toolbar. A loop adds two extra constraints on top of that trim:
- Length must equal a whole number of bars at the song’s tempo, so the pulse stays even when the end wraps back to the start.
- The cut points themselves must be clean. If you slice in the middle of a wave cycle or in the middle of a sustained note, the join pops.
Get the length wrong and the loop drifts or stutters. Get the cut points wrong and it clicks even when the math is perfect. The rest of this article is about those two problems, solved by ear on a waveform rather than by a hidden “loop mode.”
What You Need Before You Slice
- A file you already have the right to use — MP3, WAV or another format the cutter accepts. There is no URL paste or stream ripping on this page; you work from a file on your device.
- A tempo reading you trust. You need beats-per-minute to turn bars into seconds. If the number is unknown, measure it first with the BPM Finder and the walkthrough in how to find the key and BPM of a song.
- A clear idea of the moment you want — a drum fill, a two-bar bass figure, a piano stab, a vocal phrase for a ringtone-length clip.
Processing stays in the browser. The page only uploads a result if you choose to save it to your library, which requires an account. You can cut and download without signing in.
Cut a Loop or Sample with a Free Online Audio Cutter
- Load the song. Drop the file onto Audio Cutter or choose it from disk. The decoder runs locally and draws a waveform. Supported formats depend on what your browser can decode: MP3, WAV, FLAC, OGG, M4A, AAC or WebM, up to 50 MB, with a source between 1 second and 10 minutes.
- Find the downbeat. Look for the loud, evenly spaced transients—usually kick or snare hits. The downbeat is the “one” you would count off first. Starting there is what makes a loop feel intentional rather than randomly cropped.
- Set the start. Drag the start handle so it sits on that transient, or type the time in seconds. The page describes sample-accurate edges: the cut snaps to exact frames even if you think in tenths of a second.
- Set a musical length. Move the end handle (or type the end time) until the selection equals one bar, two bars, or another whole number of bars at the track’s tempo. The next section has the arithmetic.
- Preview only the selection. Play the marked region and listen to how it ends. Then imagine that ending wrapping straight back to the start. Ask whether the groove still feels even, whether silence opens up at the join, or whether a hit arrives early.
- Nudge by ear. Walk the start or end a fraction of a second at a time and preview again. If the length already feels musical but the joint still ticks, the fault is where you sliced, not the BPM you used.
- Export a 16-bit WAV, or send a selection of at least one second onward to Stem Splitter or WAV to MIDI. Shorter-than-a-second clips are allowed for a plain download; the handoff to the next tool needs that one-second minimum.
There is no beat grid hiding under the waveform, and nothing will pull your handles onto a transient automatically. You locate beat one and the bar length yourself—waveform, listening, and the duration display—the same basic method hardware samplers have used for decades.
Turn BPM Into a Selection Length
Most pop, hip-hop, house and rock sits in 4/4, which means four beats to a bar. Each of those beats lasts 60 seconds divided by the tempo, so a full bar lasts 240 seconds divided by the same number.
At 120 BPM that arithmetic gives exactly two seconds per bar (four seconds for two bars). Slow the song to 90 BPM and the same bar stretches to about 2.67 seconds (about 5.33 for two bars). Push it to 140 BPM and the window shrinks to roughly 1.71 seconds, or 3.43 seconds if you keep two bars.
Measure tempo first, then set the duration. Guessing the window by eye usually lands a few tenths of a second short or long, and that error stacks every time the clip repeats on a DAW grid.
When the readout cannot hit a repeating decimal exactly (2.667 seconds rounding to 2.67), set the nearest value and finish the seam by ear. The ear is the final judge, not the display.
Stop the Join From Ticking
A click appears when the waveform is partway through a cycle at the cut point. The sudden jump in level is an audible tick. The usual fix is to cut near a zero crossing (where the wave passes through silence) and to start and end on transients rather than in the middle of a pad or a held vocal.
SampLab’s cutter does not include a “snap to zero crossings” switch or an automatic seam crossfade. The page states that it adds no fades or volume changes. That honesty matters: if you need a fade, apply it later in a DAW. Inside the cutter, treat the click as an ear job—nudge the start or end until the tick disappears, and confirm with preview.
Exporting WAV rather than a lossy encode also protects the seam. WAV stores uncompressed PCM, so the samples you selected are the samples you get. The Library of Congress describes WAVE as a common interchange format for that reason, and BBC R&D treats related WAV flavours as production-safe exchange. MP3 is a poor loop container: the LAME technical FAQ explains encoder delay and padding, which shift timing at the edges and make a “perfect” bar fail to line up when it repeats. If you started from an MP3 source, you cannot recover what the encode already discarded—but you should not add a second lossy encode on the way out.
Isolate One Instrument, Then Cut
Sometimes you do not want the full mix. You want just the drums, just the bass, or just a vocal chop, with nothing else bleeding over the loop. Separate first, then cut—or cut first and then separate, depending on which part of the song you need.
If the useful section is 20 seconds inside a four-minute track, trim it in Audio Cutter and send the selection (one second or longer) to AI Stem Splitter. Preview, mute and download the stem you care about, then—if you need an even tighter chop—bring that stem back into the cutter. A one-bar drum loop is much easier to seam when the vocal is no longer sitting on top of it.
If the goal is notes rather than a repeating audio bed, send the same selection to WAV to MIDI and clean the result using the workflow in WAV to MIDI converter. A MIDI file stores performance data rather than the waveform, so a phrase you cut for its rhythm can become editable notes instead of a static sample.
Rights, Practice and Release
Cutting a loop from a record you love is a good way to learn arrangement, drum programming and bass phrasing. Releasing that loop is a different act. Extracting a clip does not transfer the composition or the sound recording to you. For practice, private study and material you recorded yourself—or material released under a licence that allows sampling—you are on safer ground. For anything public or commercial, get permission or use sources that already grant it, and keep those records with the project.
The cutter will not check the legal status of the file. That responsibility stays with you.
When the Exported Clip Misbehaves
- A hole or a hiccup at the repeat. The window is probably not an integer number of bars. Confirm the tempo, divide 240 by that number, and move the end handle to match. Too short leaves empty space; too long makes the next hit come in early.
- A tick every time it wraps. Slide the start or end toward a transient or toward a quieter zero crossing and preview again. The page will not hide that tick with a fade.
- Correct duration, wrong feel. The start may sit on beat two or on an off-beat instead of beat one. Walk the start handle to the nearest strong, regularly spaced hit.
- Drift after you drop it on a DAW grid. Either the exported length misses the bar your session expects, or the project tempo does not match the song. Align both numbers and cut again as close as the handles allow.
- Right length, wrong instruments in the slice. Another trim will not remove the vocal sitting on your drum hit. Separate that section first, then cut the isolated part.
What to Do After You Have the Slice
A clean WAV loop is raw material, not a finished track. Layer isolated stems, write a new bass under a drum chop, or drop the clip onto a video timeline as a music bed. Because the export is 16-bit WAV with no extra processing, whatever you do next starts from the samples you chose—not from a second encode or an unexpected fade.
If you only needed a ringtone-length phrase, the same workflow applies: mark the start, set an end that sounds finished rather than abrupt (even if it is not a strict bar), preview, and download. Musical bar math is essential for loops that will repeat; a one-shot clip can be shorter or irregular as long as it starts and ends cleanly.
Frequently Asked Questions
What duration should I aim for? One bar or two is the usual target. In 4/4, divide 240 by the tempo to get seconds per bar: two seconds at 120 BPM, roughly 1.71 seconds at 140 BPM. A single bar feels insistent when it repeats; two bars leave the phrase more room.
How do I get a tempo reading before I slice? Measure the song first. The on-site BPM Finder estimates speed (and key); confirm the number by ear, especially if the recording uses half-time or drifts. Then turn that tempo into a bar length.
What causes a tick or a hiccup when the clip repeats? A tick usually means the knife landed in the middle of a wave, so ease the start or end until it disappears. A hiccup or gap usually means the window is not a whole number of bars—divide 240 by the tempo again and reset the length. Preview after every small move.
Does the cutter export MP3 or add fades? No. It downloads a 16-bit WAV and adds no fades or volume changes. Convert or fade later if you need those.
Am I allowed to slice any recording I can find? For private practice, cutting a file you already possess is a common study method. For anything you release or sell, sampling a copyrighted recording generally needs clearance. Fair use is not automatic, and the tool does not grant rights.
Do I need a DAW just to cut the loop? No. Load the file, mark one or two bars, preview the seam, and export WAV in the browser. A DAW becomes useful when you start arranging several loops into a beat, adding fades, or lining the clip up to a project grid.